Image Editor
Table of Contents:
1. Accessing the Image Editor
2. Cropping
3. Filters
5.Rotate Image
5. Add Text
6 Insert image File
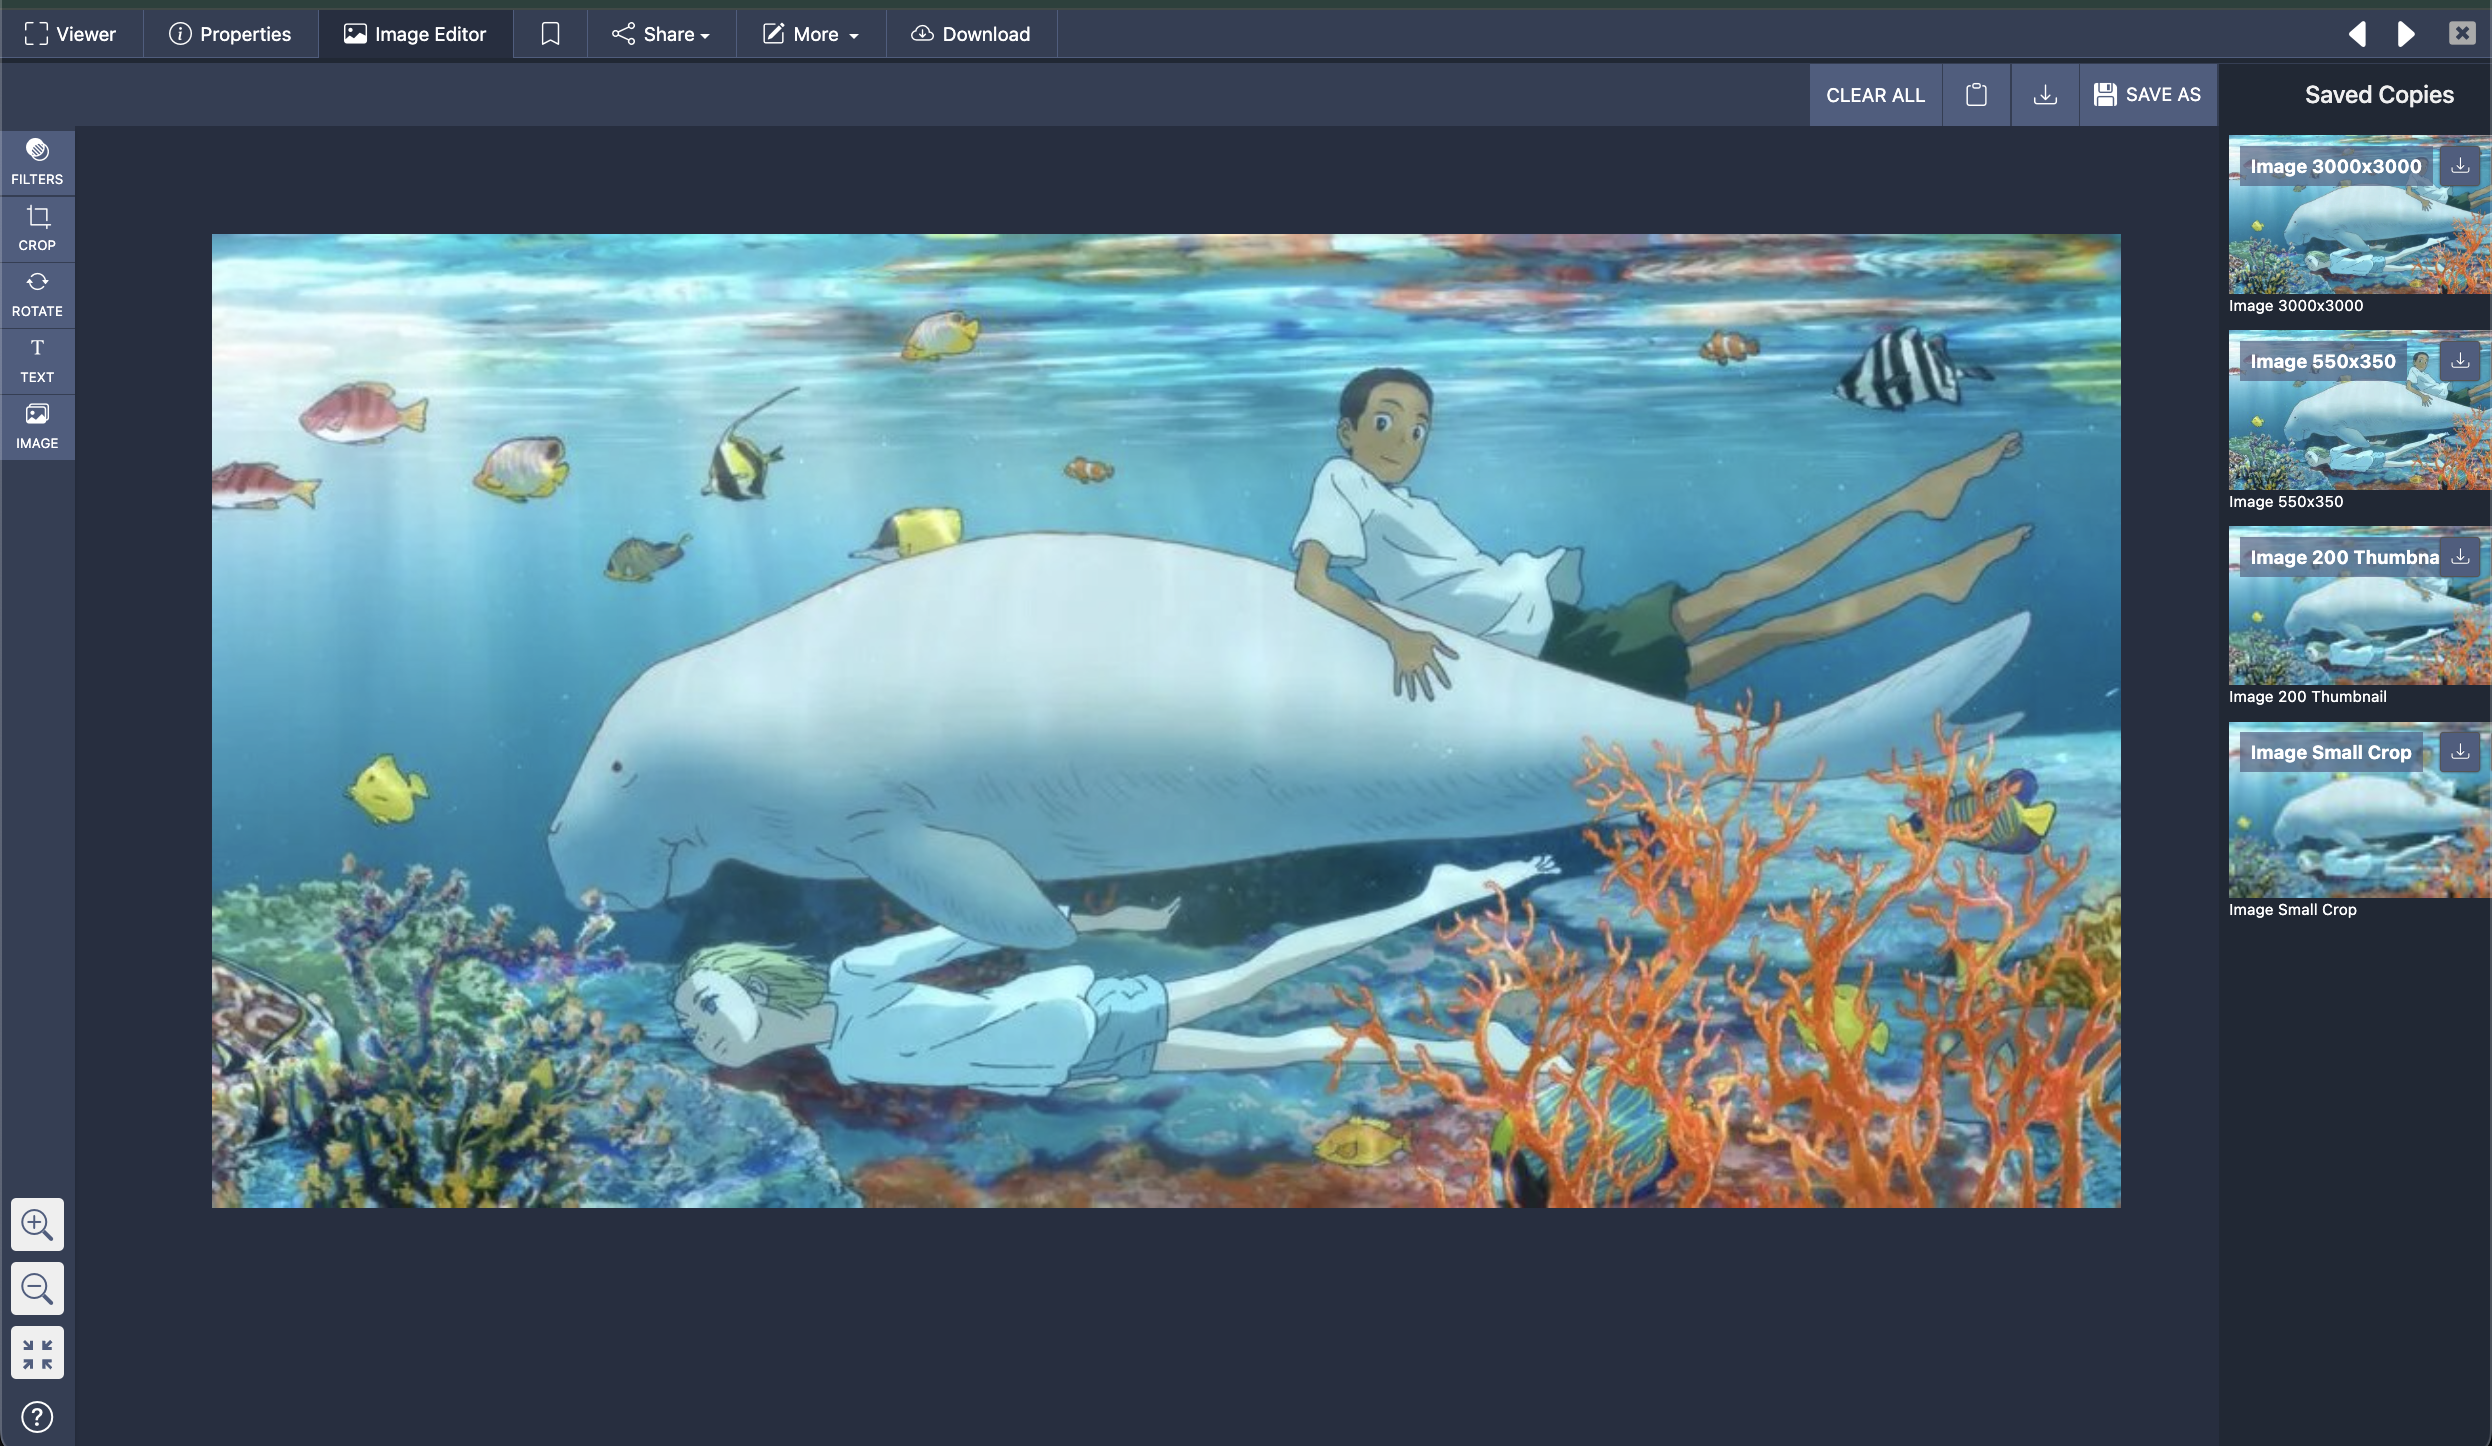
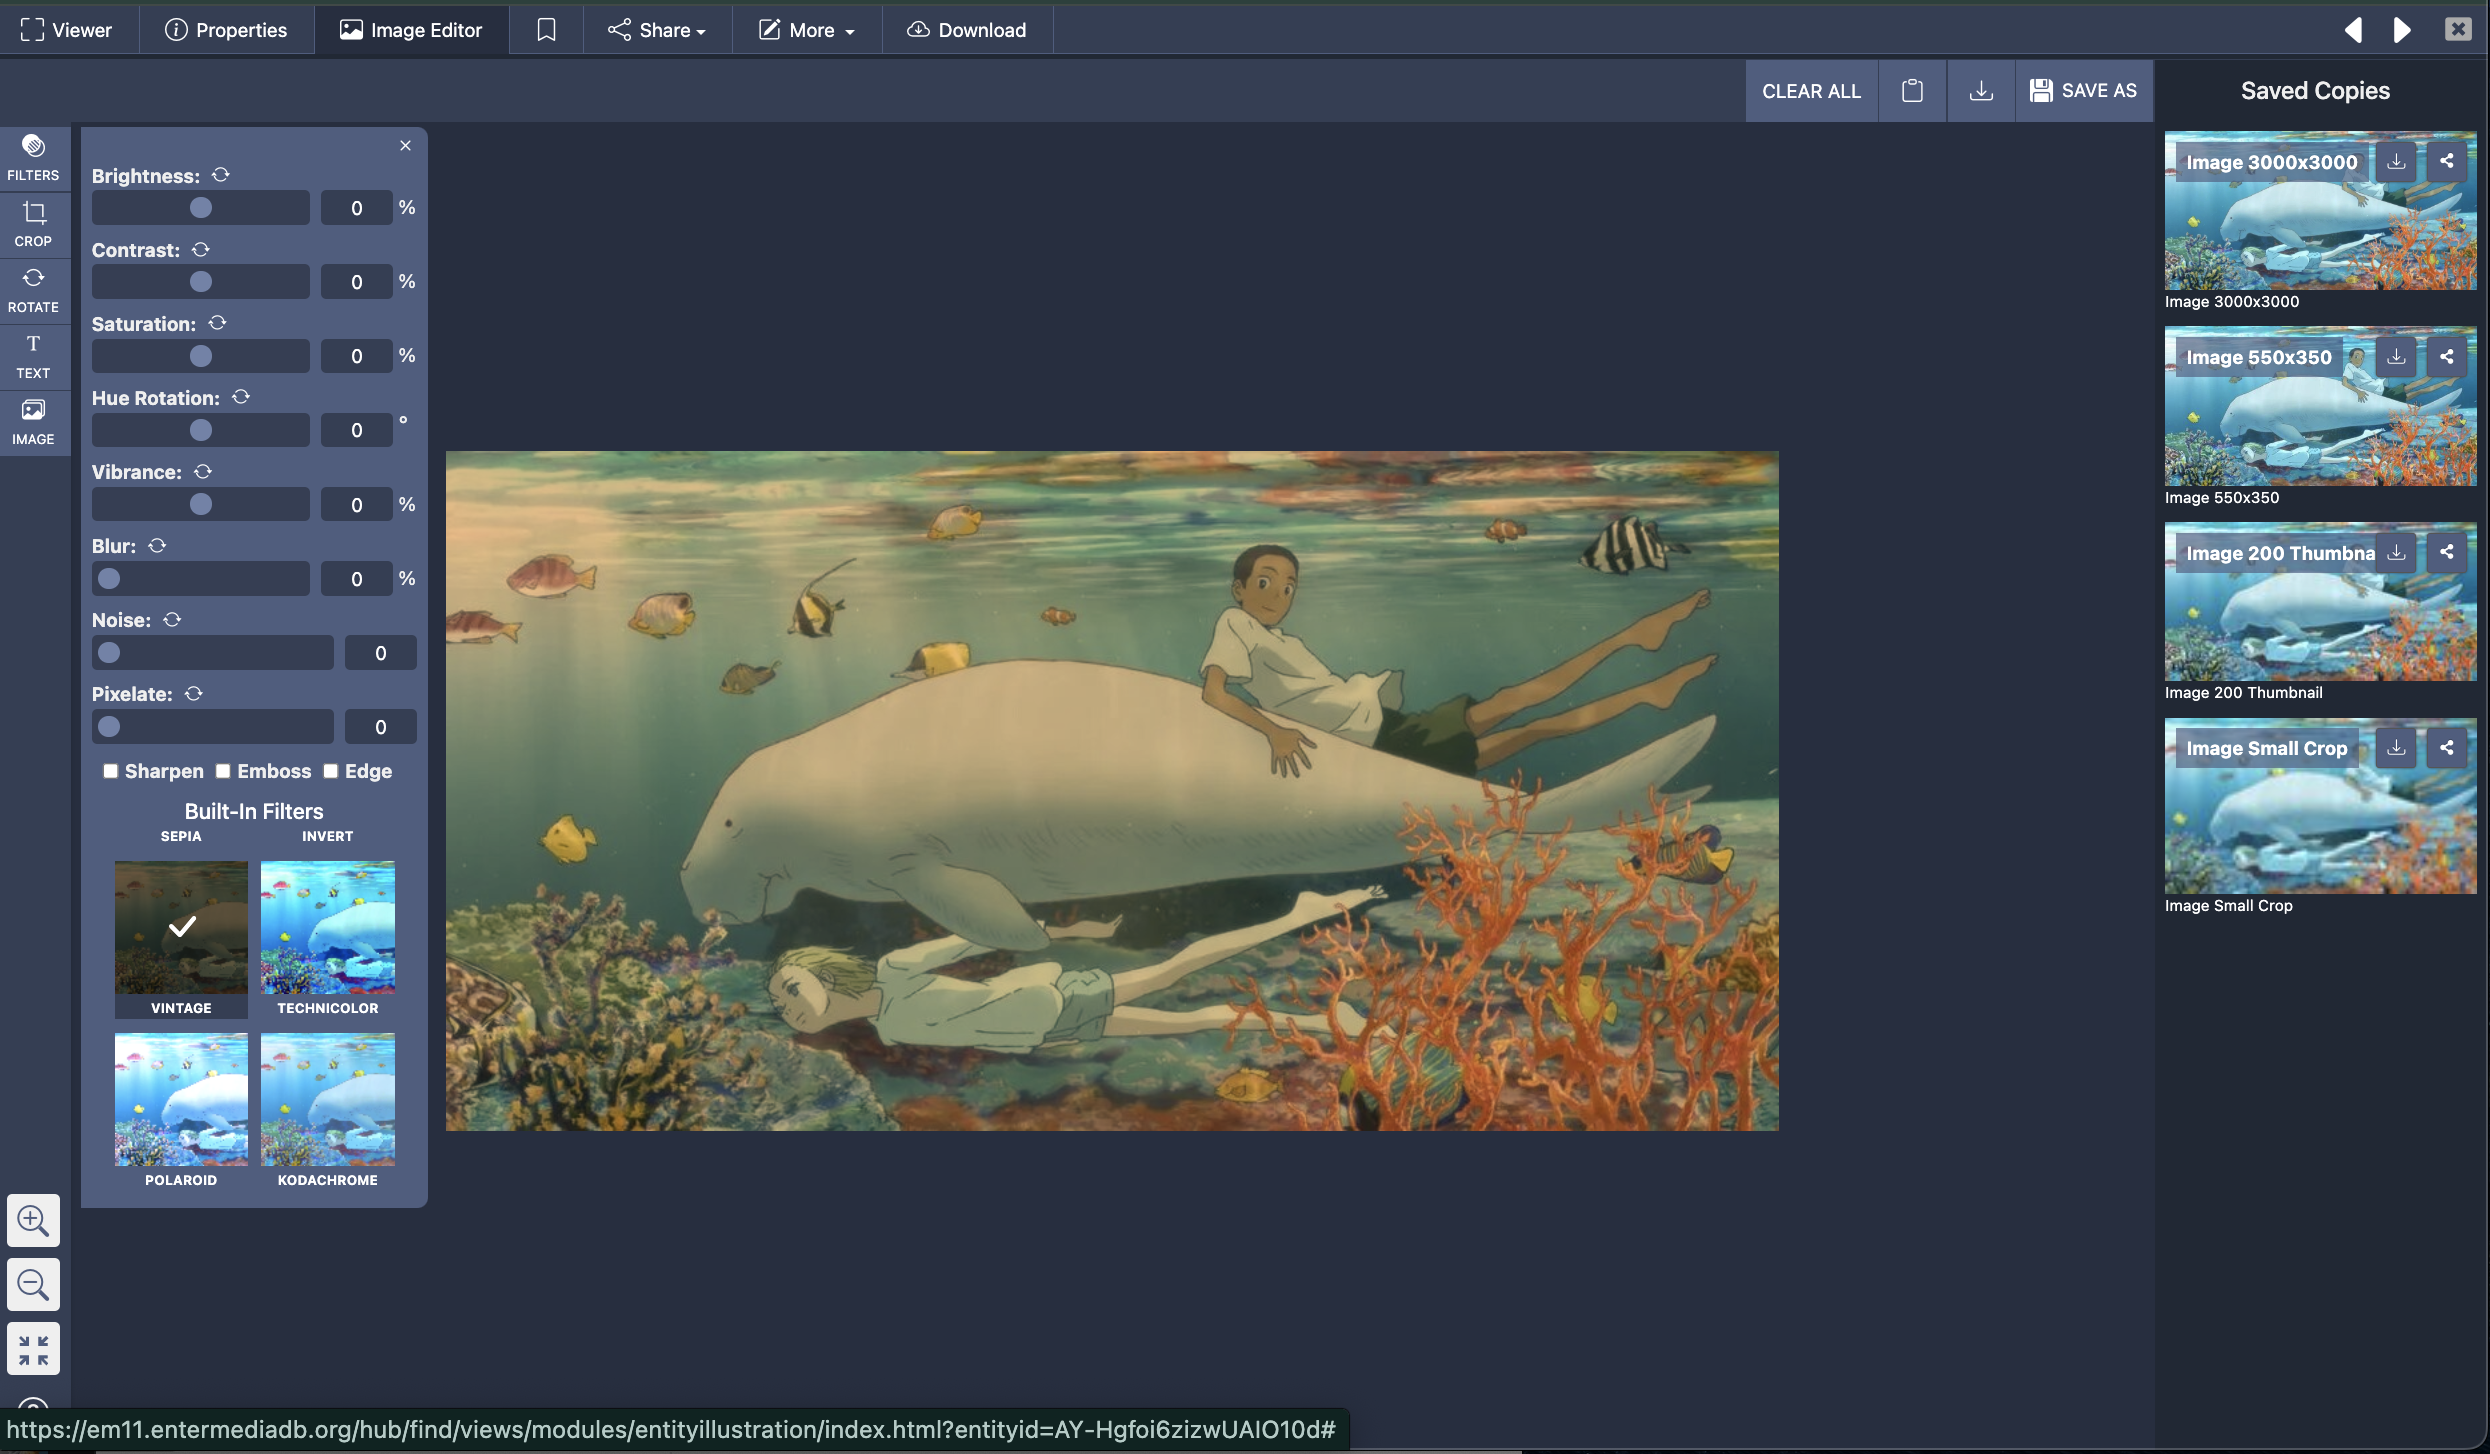
1. To access the image editor, click on any asset and select the "Image Editor" tab from the top header of the asset viewer. From this area you can crop your file, add filters, text, rotate, and insert overlapping images.
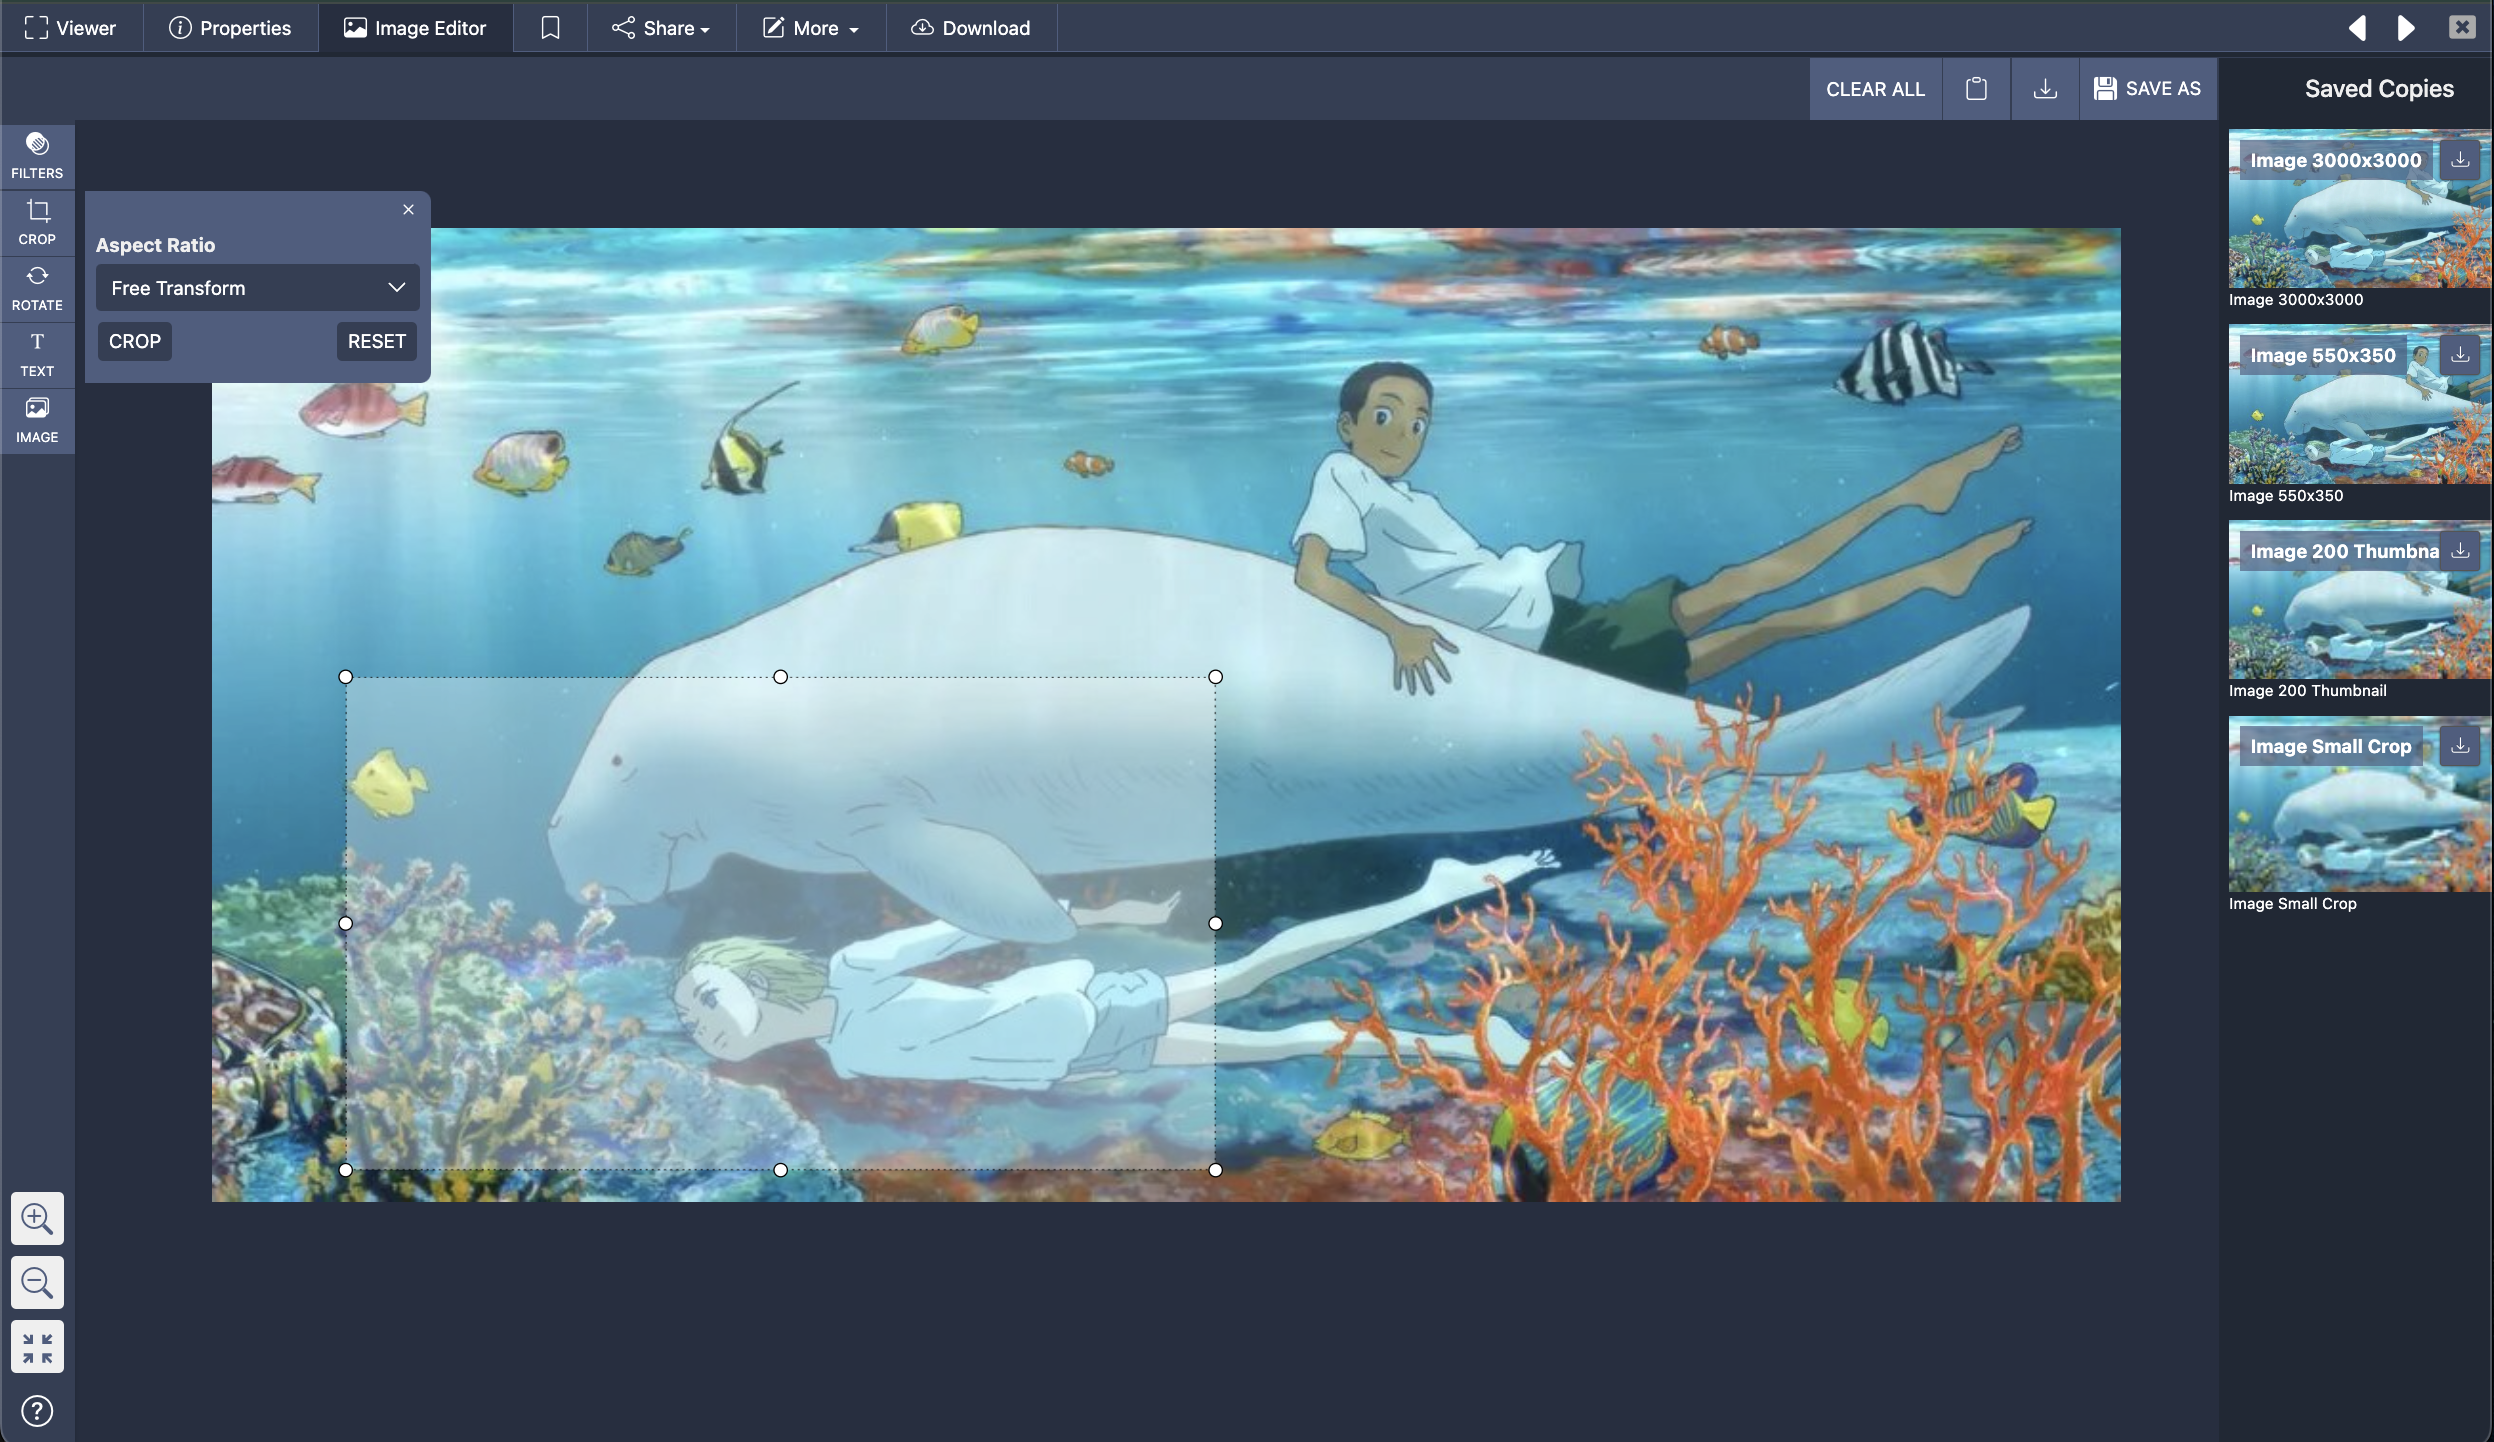
2. For cropping, you can either choose one of the set options from the drop down list, or select "Free transform" crop for a custom size.
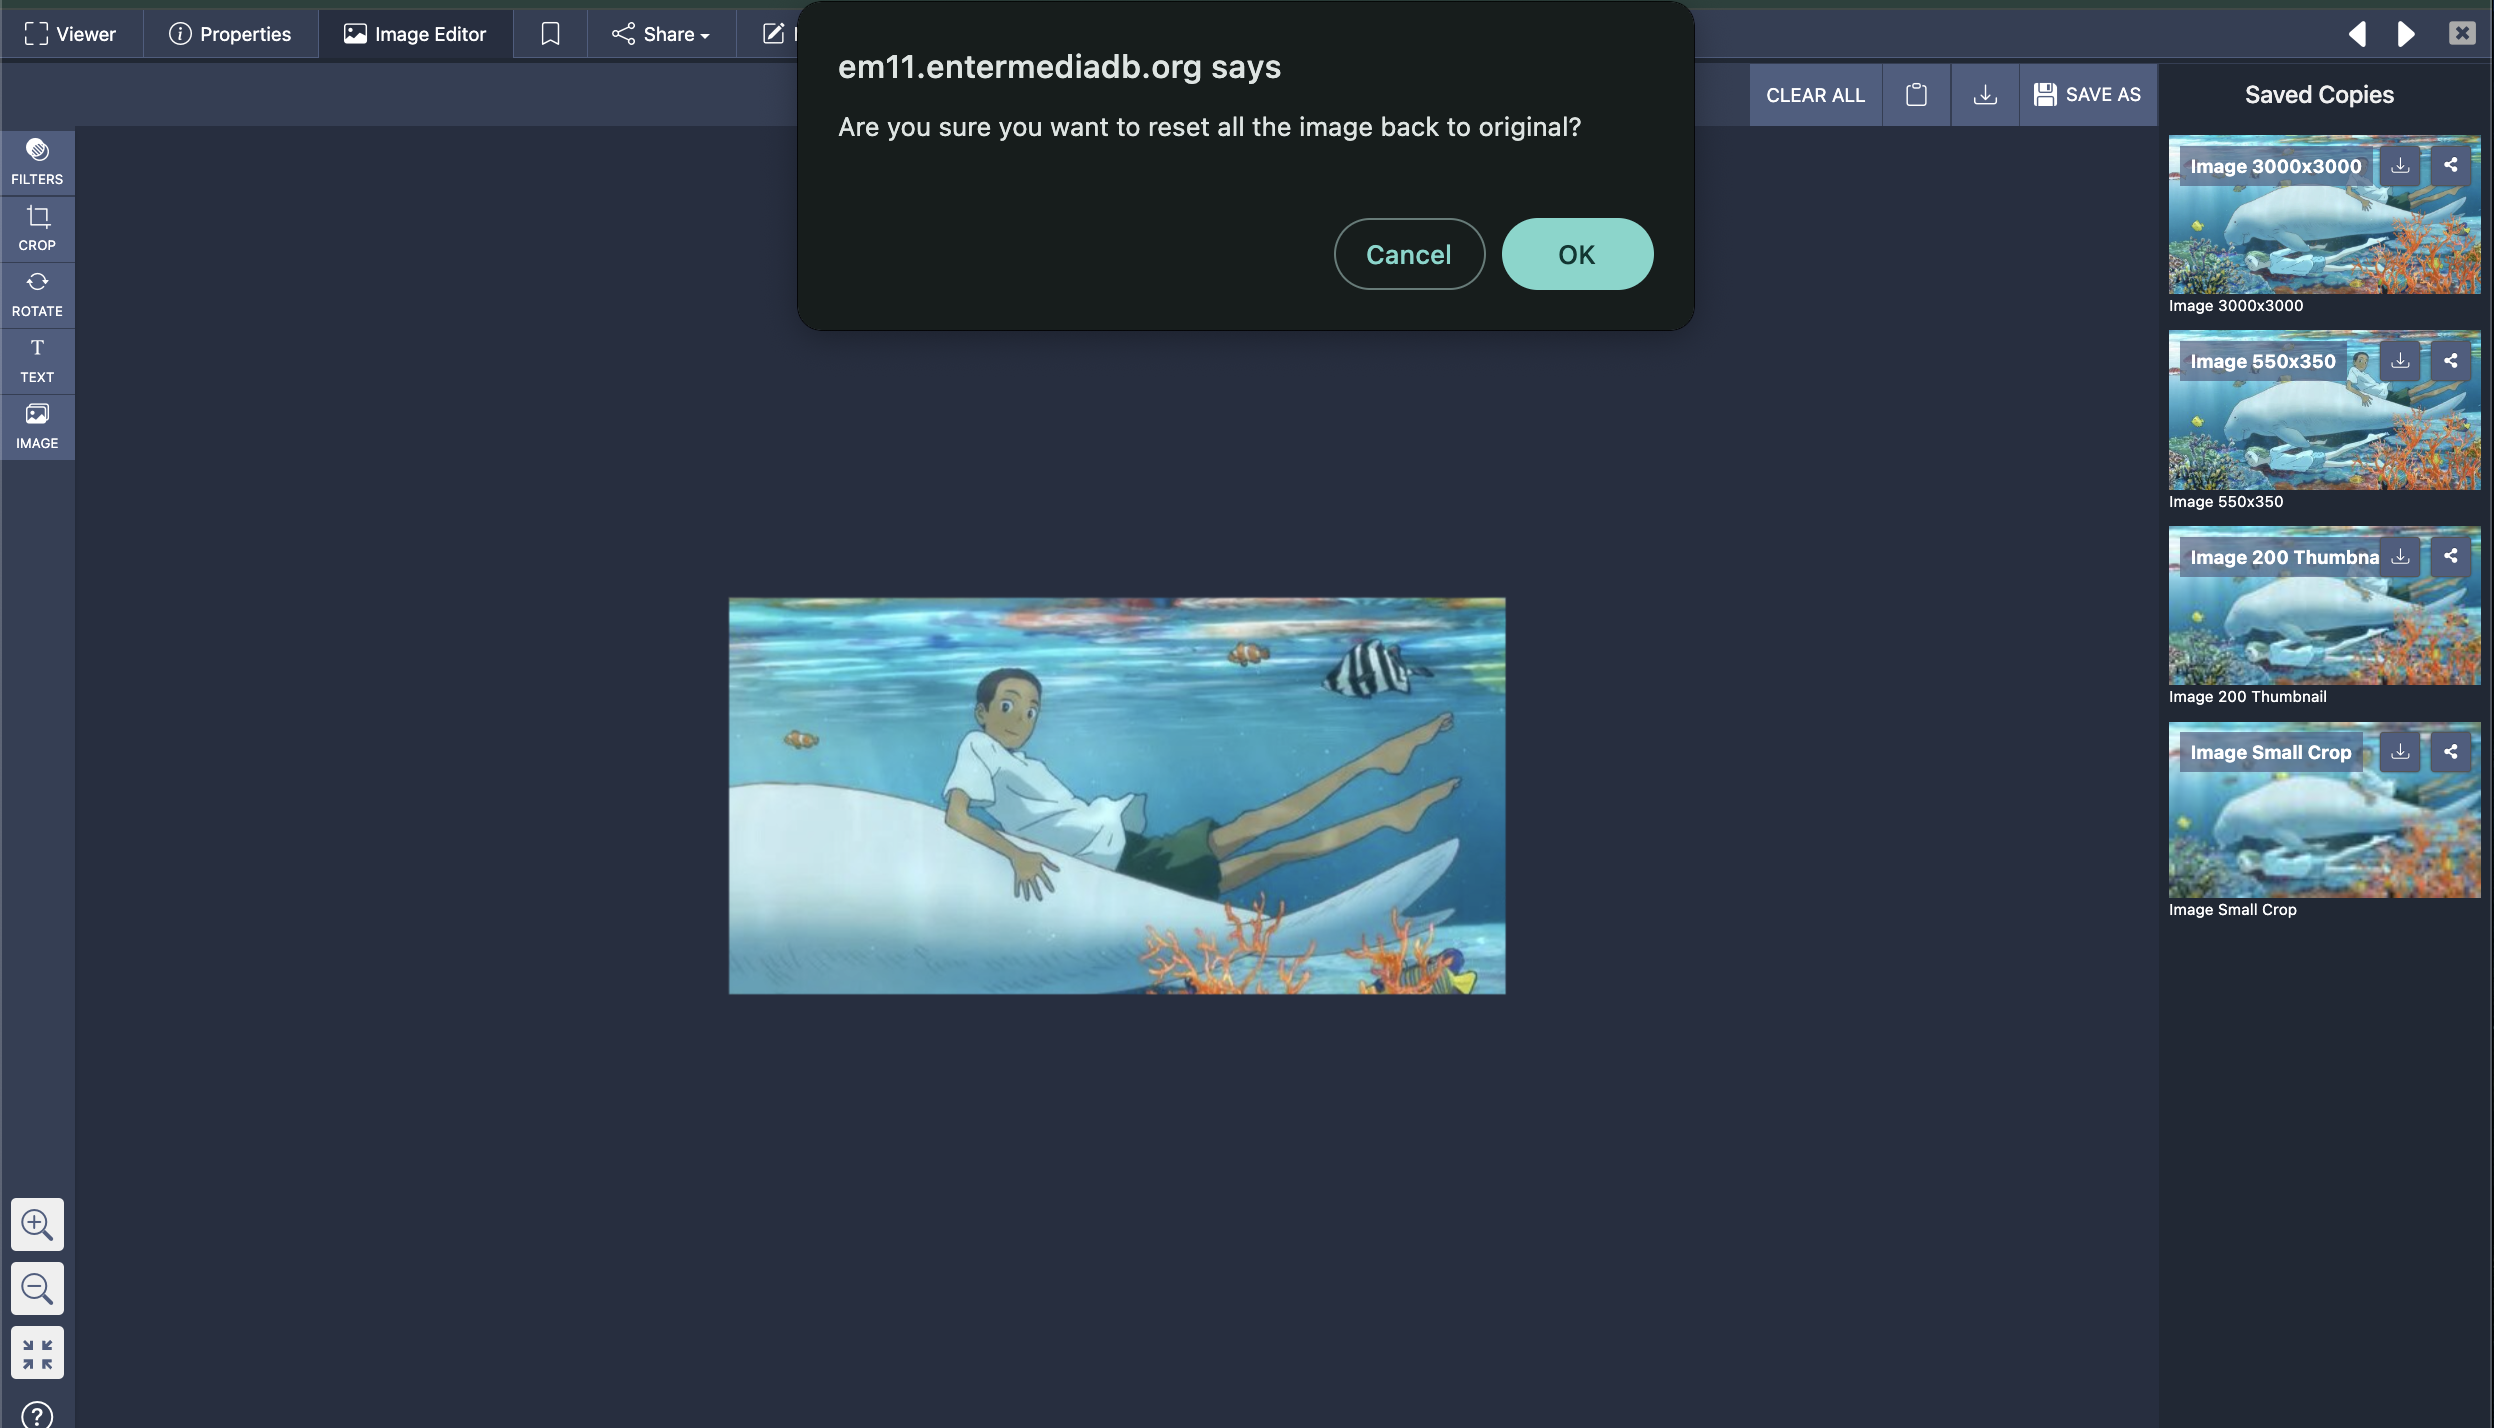
If you do not like your changes at any point in your workflow, or want to try again, hit the "Clear all" button located at the top right of the window, It will ask you if you'd like to restore the file to original.
3. To add a filter, Click the filter button on the toolbar on the left-hand side of the window and select from the list.
You can also create your own using the faders on the UI.
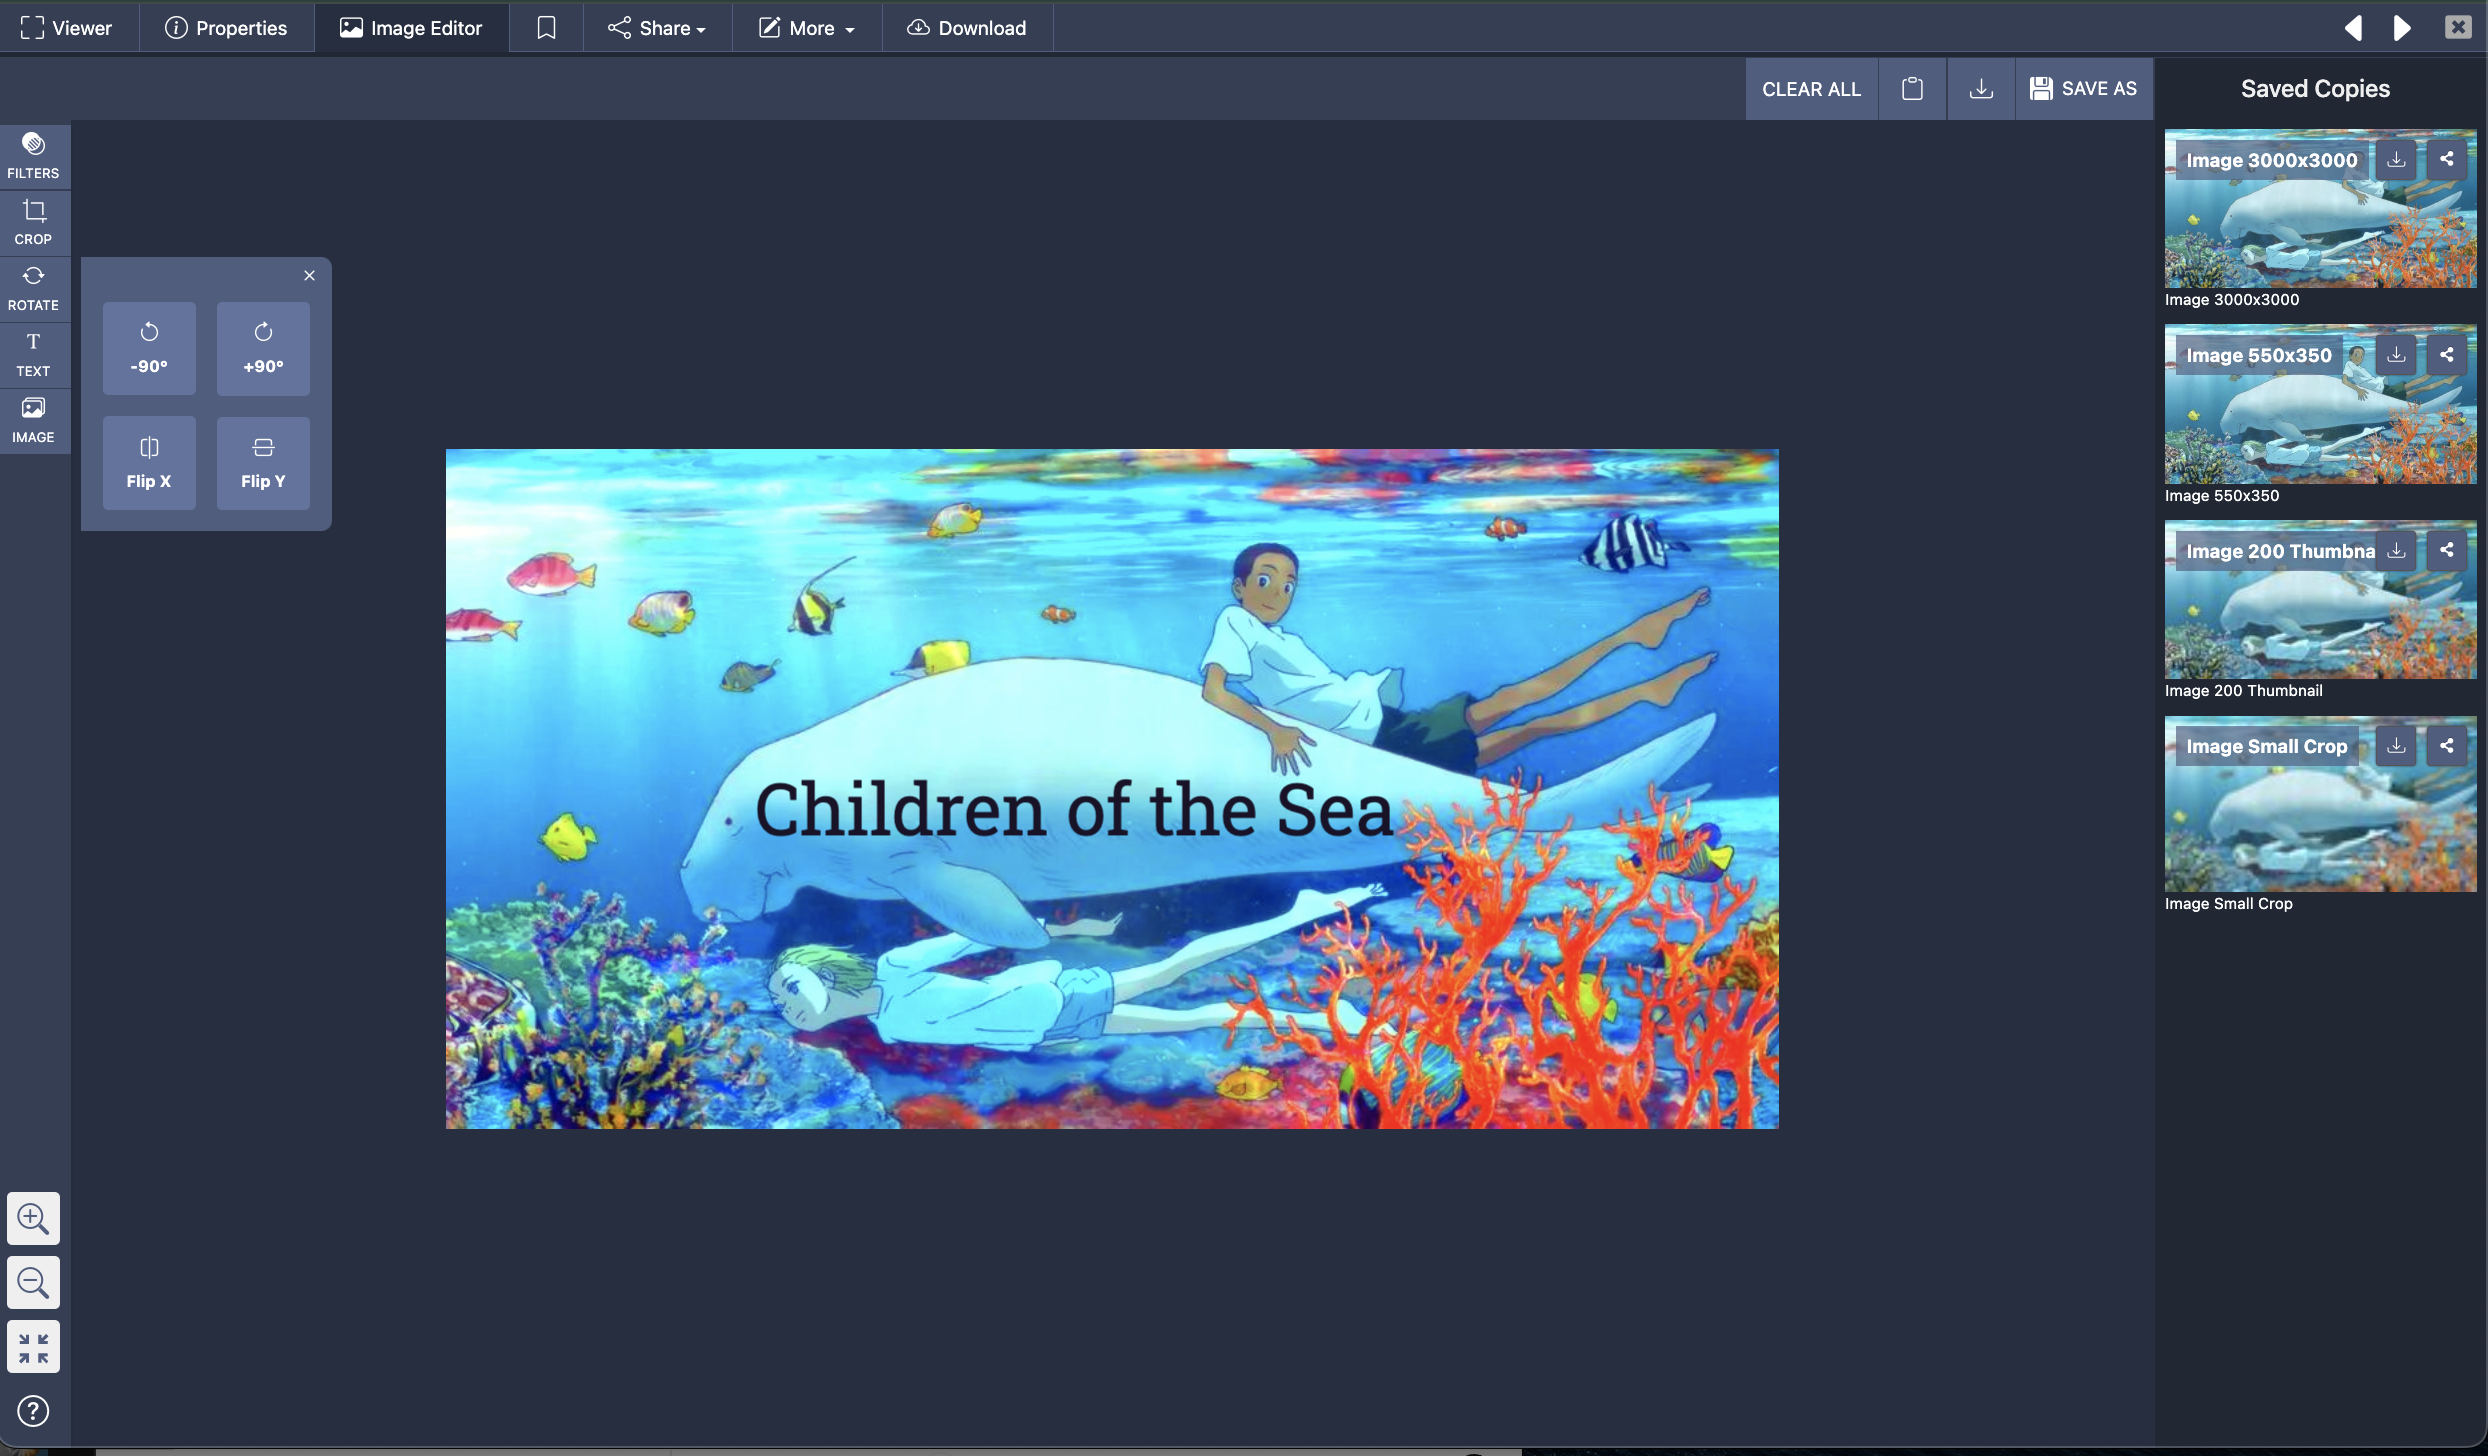
4. To rotate the image, Select Rotate from the left toolbar, and select the option you want.
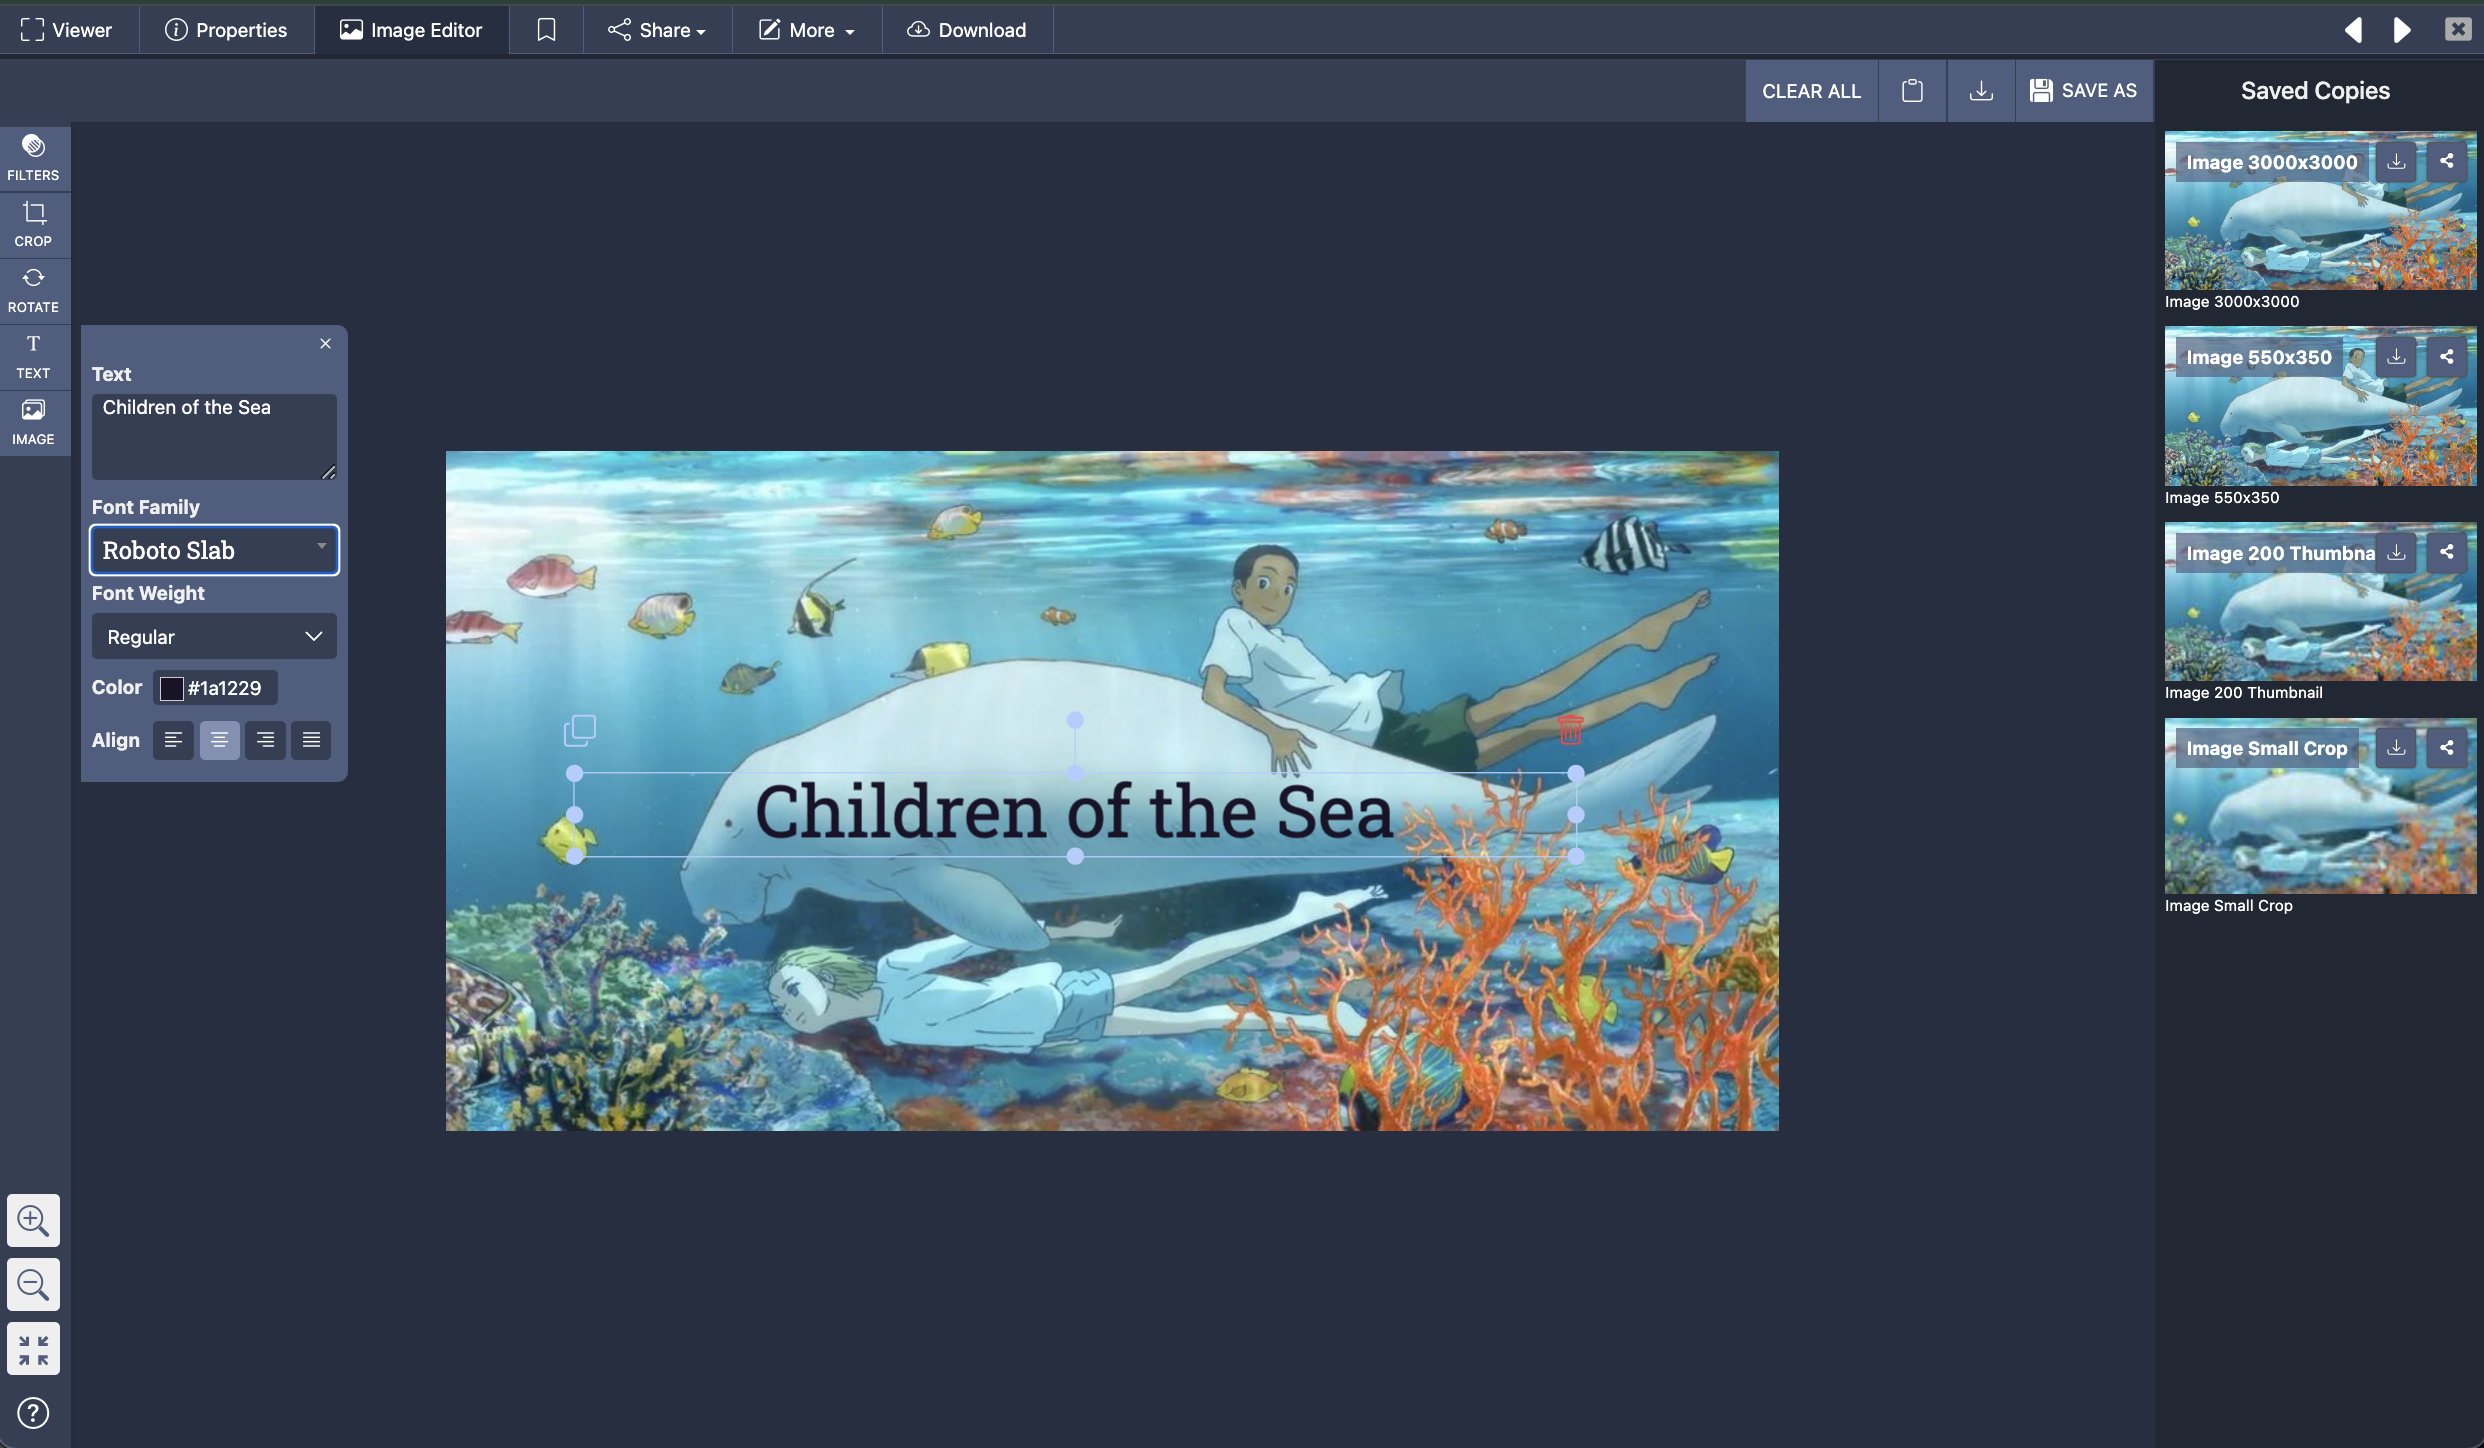
5. To add text, click on the text button on the left toolbar and type in what you would like to add in the text box. You can also format from this menu as well.
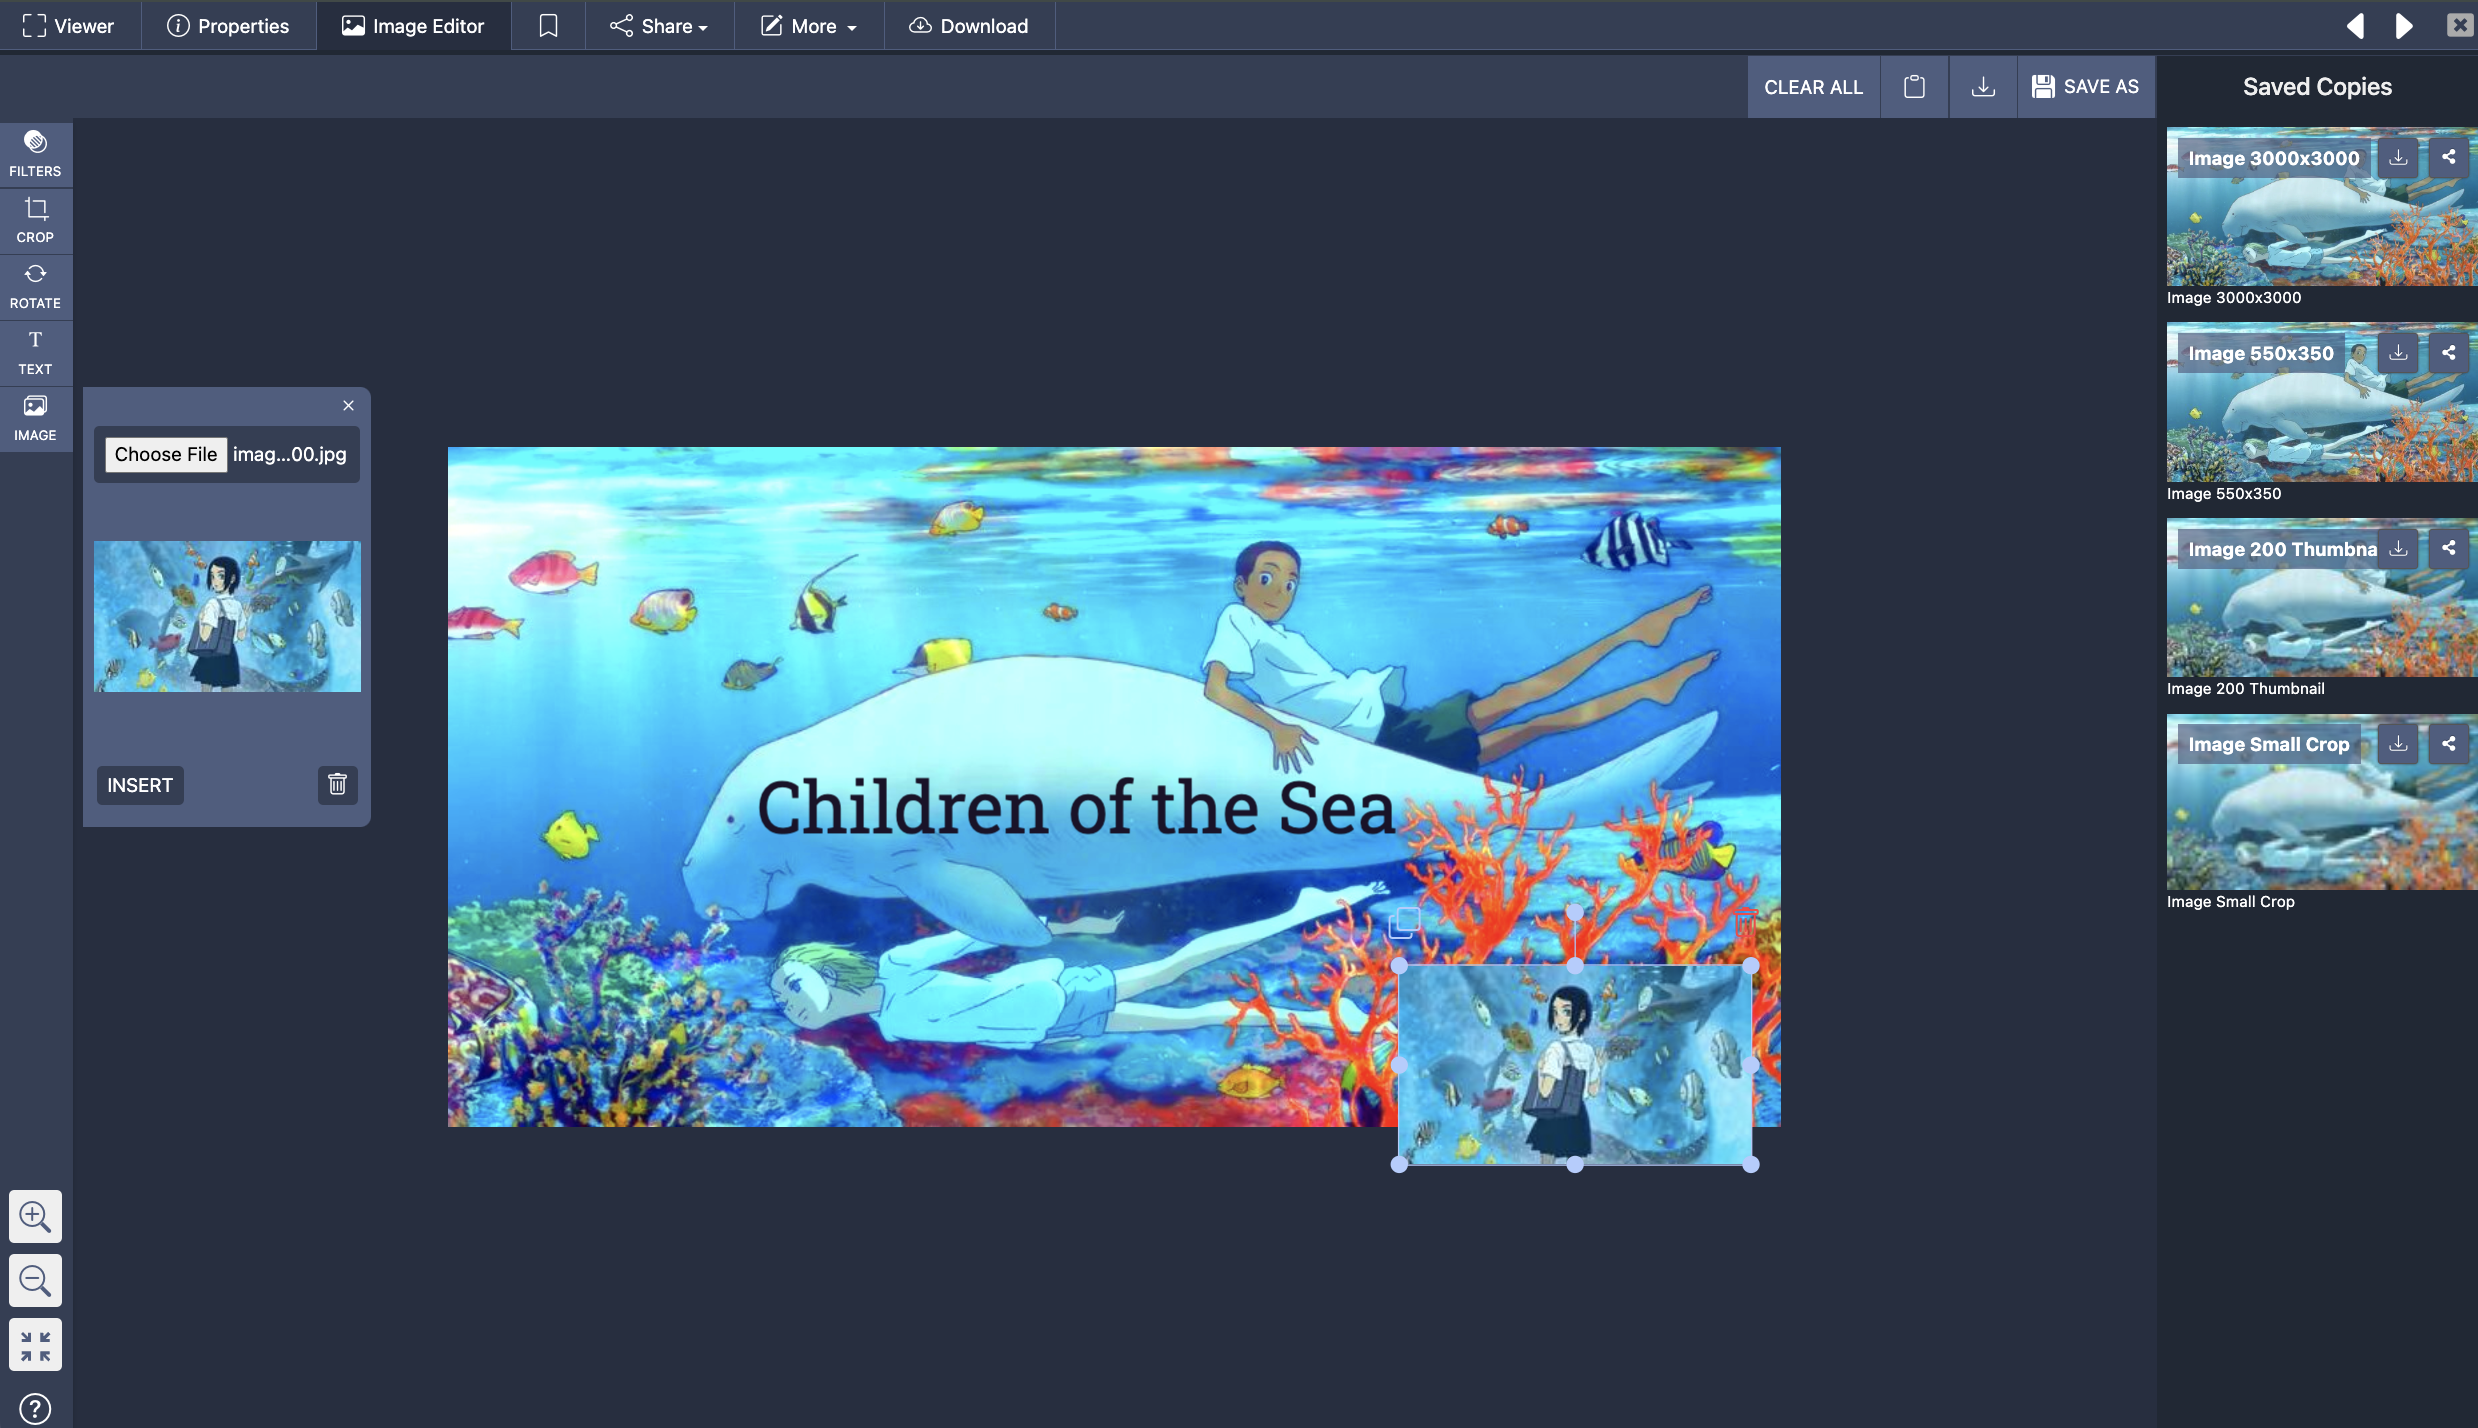
6. To insert an image file, Select "Image" From the left toolbar and import your file. You can position it anywhere on the image you like, to create collages or overlapping images.